If you've found yourself reading my blog you to must have a love for Ju Ju hats as well! I first came across Ju Ju hats while watching a home show and fell in love instantly. I had the perfect blank wall at home that would fit 3 and look amazing so I showed my hubby what I was thinking about doing....he wasn't as enthusiastic as I was lol but I twisted his arm.
Firstly I didn't even know what they were called so my google search began. After finding a picture and tracking down a place that sold them I saw the price! Which I'm sure is totally worth it but I wanted 3 and had a husband who thought feathers on the wall was a ridiculous idea! I knew I had no hope of buying them so I started to search how to make them.
Now these ones I've done are no comparison to the real ones but the do look lovely and give you the same effect and cost a third of the price.
You'll need thick cardboard/craft board
Hot glue
Thick Cardboard/craft board
String
Ruler
Scissors
Trim feathers 12-15 cm height they came in 10 metre lengths (I used beige,cream and white)
I ordered my feathers online from
aliexpress.com ended costing about $200 in total to make 3.
Some thing I learned along the way is to sew your feathers together first on this one i only did 2 colours (cream & white) but depends how fluffy you want it, the reason is gluing each layer adds a lot of weight and you end up using soooooooooo much glue!
On my others juju hats pictured in the first photo i used 3 colours beige, cream and white.
Once you've sewn feathers you will need to figure out what size you will want. I wanted them to be really big so i used up a whole piece of cardboard A2 size I think and made up a template so all 3 would turn out the same size.
To make the template I used a strip of card and pierced holes equally down the strip as pictured.
Then find something sharp to stick in your template to keep it in place i used a corn cob thing, and in the holes you pierced place a pen and make circles. This will help as a guide when gluing
To hang the Ju Ju hat I have made loops out of string/twine. Mark 4 points on your cardboard circle in opposite sides of the cardboard as picture above pierce holes and stick your loops through so the loop part comes out on back side so you can hang. Why 4? After a while the feather fluff up really nicely but will start to droop so when that happens you turn to another loop.
As you can see hanging loops are all in, you can get your hot glue gun out now and pop a blob of glue on the ends on the side you inserted the loops to hold them in place.
I have just used leftover card and glued it on the back to give a little more structure. Its not necessary but will stop or reduce any curling of the card which may happen over time.
Now for the gluing! making sure you glue with the feathers ends turned up (if you glue with with the fathers turned down it wont fluff up nicely rather just sit flat which is what you don't want)
Use the guide lines when gluing to to make sure you keep a circular shape, now you don't have to glue on the lines just use as a guide.
The closer you glue each row the more texture and density you will achieve! I left about 2cm space till i started the next row of feathers.
And keep gluing..... and gluing. It doesn't really take that long once you get the hang of it . Once you have made a full circle you cut the feather trim so it meets up where you started.
When you get to the the middle cut a small hand full of feathers off the ribbon trim and separately glue in the feathers.
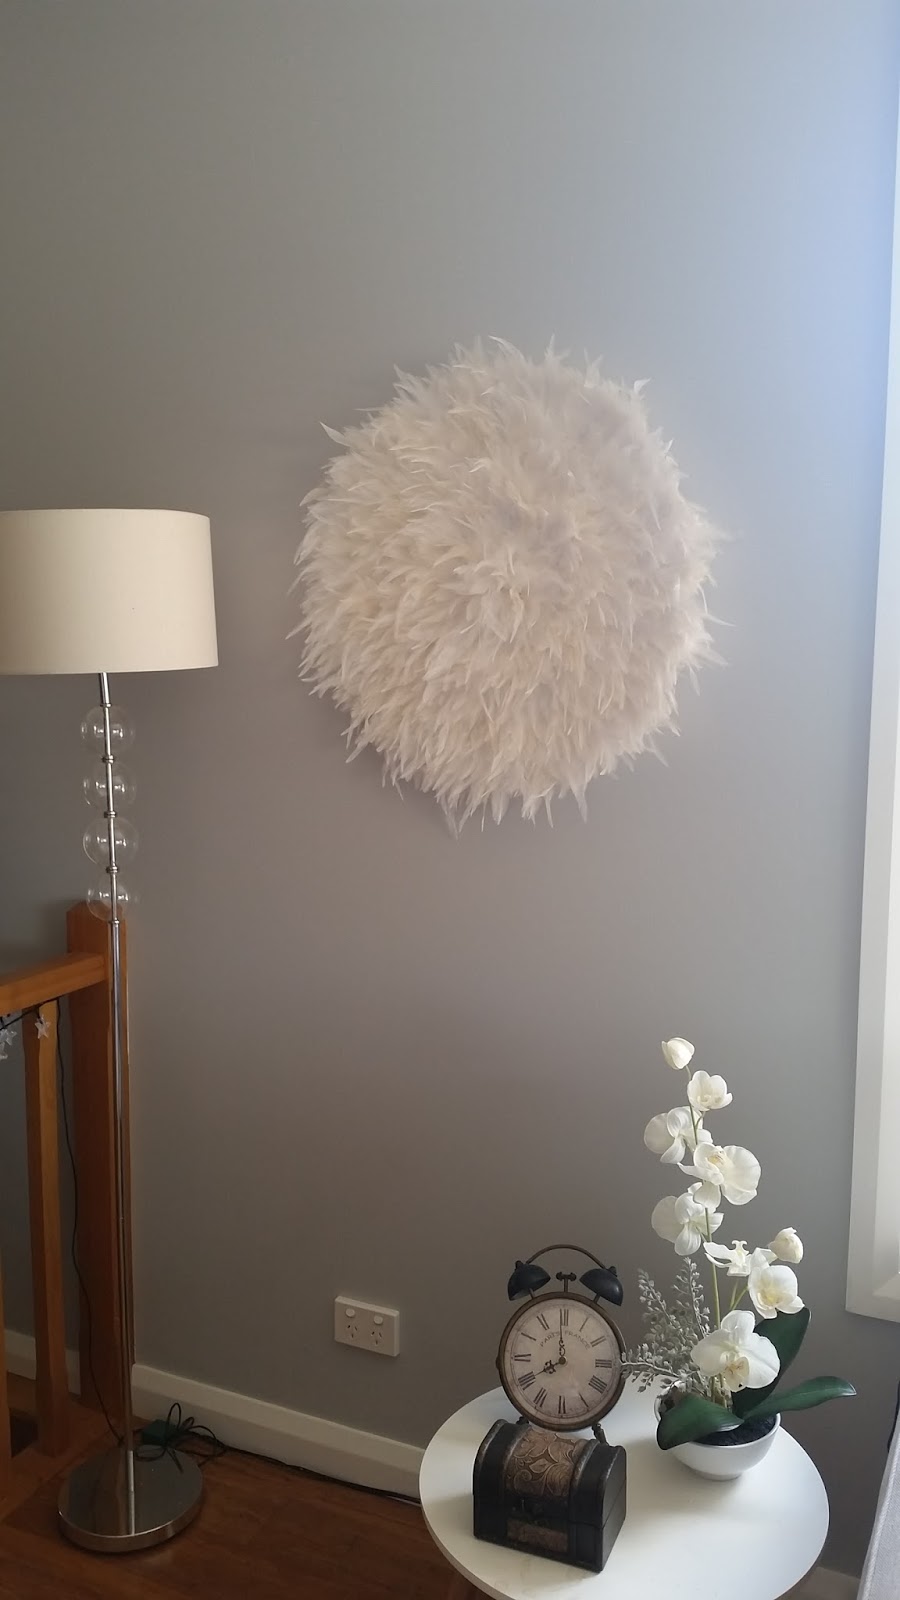
And that's it all done! Hang and admire :) The feathers will sit a little flat at first but in days they start to fluff up and look really nice, if you want to give them a helping hand get the hair dryer on it.
Hopes this helps if there are any questions just ask i'm happy to help :)


No comments:
Post a Comment